Перейти к контенту
Поиск:
Экономика
Бизнес
Маркетинг
Наука
Технологии
Общество
Интересное
Технологии
Новые функции искусственного интеллекта в Paint и Photos для Windows 11: расширенные возможности редактирования и творчества
Интересное
Туристический комплекс «Таежные дачи»: Развлечения для всей семьи в Звенигороде
Интересное
Резервный пилот «Феррари» Роберт Шварцман оценил свое выступление на Гран-при Нидерландов
Интересное
Евгений Титов — заслуженный шахтёр России, машинист горных выемочных машин 6 разряда компании «Уралкалий»
Интересное
Акции «Соллерс»: интересная история на российском фондовом рынке и перспективы сотрудничества с западными автопроизводителями
Общество
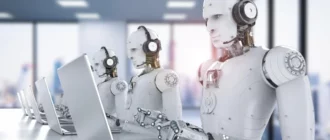
Искусственный интеллект в офисе: конкуренция или сотрудничество?
Наука
Врач опровергает миф о вреде мороженого и объясняет, почему он не вызывает болезни
Экономика
Американская экономика уверенно справляется с ограничениями ФРС, что поддерживает рост доллара
Экономика
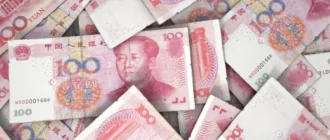
Экономическое замедление в Китае: небольшое замедление или серьезная проблема?
Экономика
Половина россиян не считает, что санкции Запада повлияли на экономику РФ — опрос ФОМ
Экономика
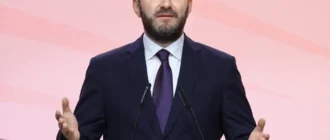
Российская экономика трансформируется быстрее ожиданий, рост замедлится до 2-2,5% — Максим Орешкин
Экономика
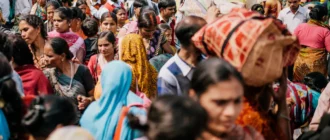
Индия – третья крупнейшая экономика мира и продолжает борьбу с бедностью
Навигация по записям
1
2
…
10
Далее